So you want to customize Worms with your own graphics. Great, that’s the Amiga spirit!
Please note:
This is a bit of an expert tool. Think of it as WormPrefs for the browser. Specifically, it’s not an image editor.
You still need external tools for the artwork, the files must be provided in
IFF ILBM format, and they must match the exact dimensions and number of colors of the template files. You can use DeluxePaint on the Amiga or GrafX2 for that.
But since you need a real or emulated Amiga anyway, you’re an expert already… :)
There are two ways to create your own worlds for Worms DC:
Custom level
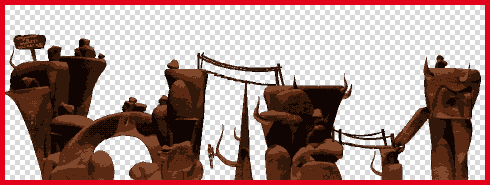
You define the exact shape of the terrain. The level will always look the same.
Landscape
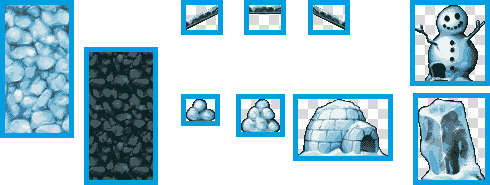
The landscape is randomly generated each time, but with your textures, bridges, and objects.
But there’s more! You can choose which mountains you want to see in the background, fine-tune all the colors,
and even fiddle with physics!
Mountains
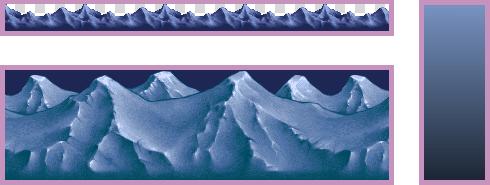
You specify two layers, front and back, and a gradient for the sky.
Alternatively, you can use one of the built-in mountain sets:
TOYS, SAND, MARS, HELL, ALPS, ARMOUR, BUST, CITY, ICE
Note: The levels reference the mountains
by their name; be sure to enter it correctly. In this tool, you
can load .MNT files in the level/landscape editors, but that’s
merely for the preview feature. The mountains aren’t embedded
in the level files, only the names.
Level options
- Change the colors of the mountains
- Change the color of the sky gradient
- Change gravity and friction
- Change the water type
- Change the water base color
- Put in a motivating quote
How does it all come together?
It’s probably easiest to take an existing file, import it (“Drop a file here” above) and
begin changing it to your liking. Try these:
- GUITARS.WRM16 A custom level. The background layer is optional and can be disabled.
- EXAMPLE.DIY A landscape. Note that you can use a special image as the source for the tiles: TEMPLATE.IFF
- DEFAULT.MNT The default mountain set and sky colors.
From there, you can for example save a layer in IFF format, load and edit it in DeluxePaint, upload it back again here, etc.
Each file type section – WRM16, MNT, and DIY – has an export button at the bottom. Once you’ve exported your level, landscape, or mountains,
put the resulting file in the appropriate sub-directory of WORMSDC:
- .WRM16 files (levels) go into
WORMSDC/TWCUSTOM
- .DIY files (landscapes) go into
WORMSDC/TWDIY
- .MNT files (mountains) go into
WORMSDC/TWMOUNTAINS
…and you’re nearly done. Now launch Worms, start a match, click the right mouse button, and type your level or landscape name (the file name
without the .WRM16 or .DIY extension).
If you’re hitting a wall and need help, or if you want to show off your finished Worms art, consider joining the friendly Worms DisCord (see
worm.net for the link). Cheers!